Pro layout tutorial

Create, save, and manage custom layouts

Build reusable output layouts that show the columns your team needs, in the right order, with clear export headers.

Saved custom layouts are a Pro feature. You must be signed in with an active Pro subscription to save, set defaults, duplicate, or manage reusable layouts.
1

Open the EDI Data Workspace

Convert an 835 or 837 file, open the full editor, and locate the Layout, Manage Layouts, and Customize Columns controls above the grid.
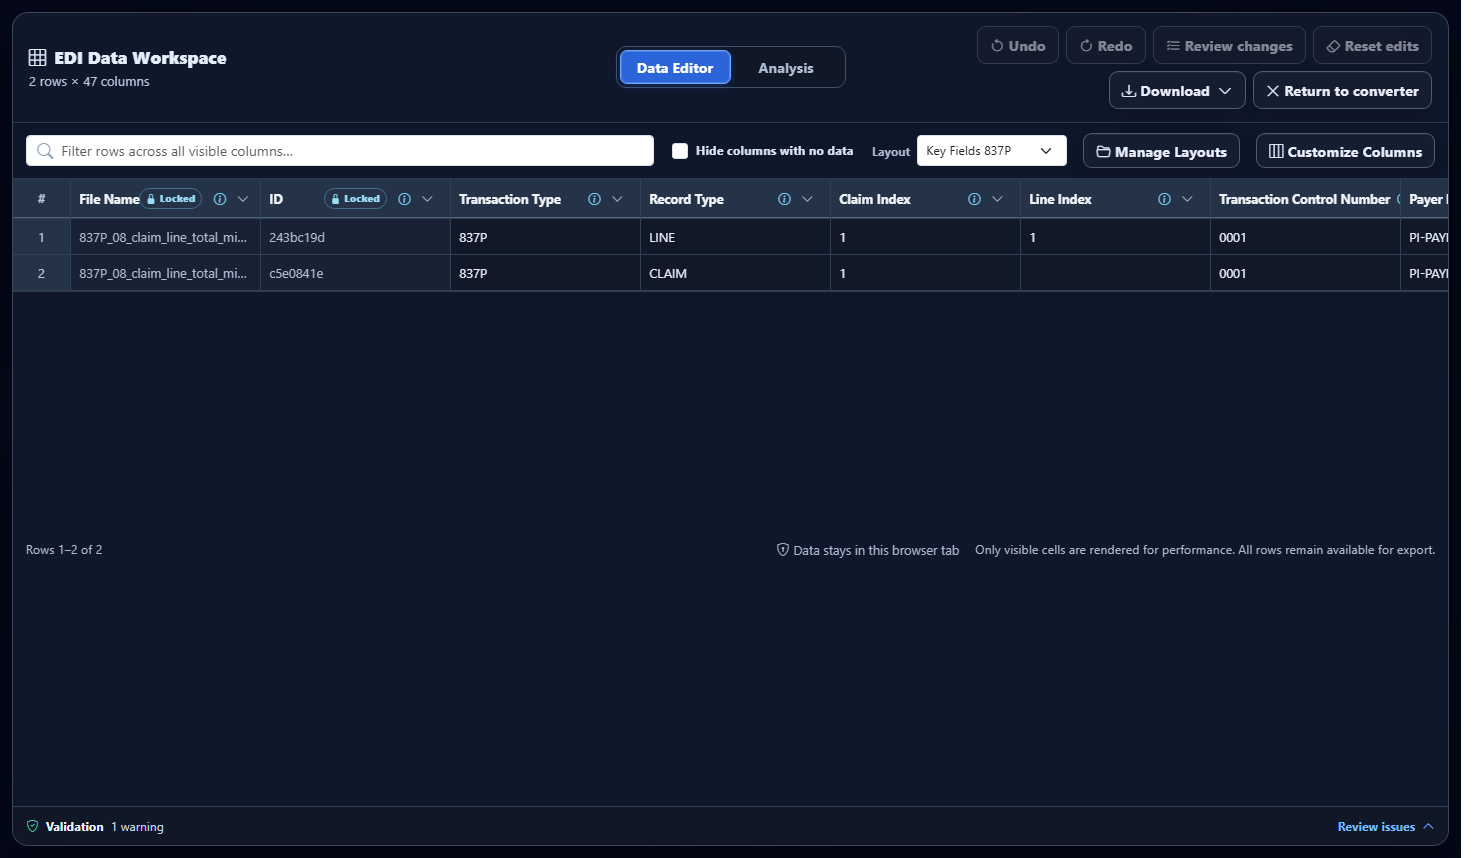
EDI Data Workspace with Layout, Manage Layouts, and Customize Columns controls
The available built-in layout matches the current transaction type and output scope. Click any tutorial image to view it full size.
Layouts are compatibility-specific. For example, a Key Fields 837P layout is kept separate from an All Fields 835 layout.
2

Choose, reorder, and rename columns

Select Customize Columns to open the layout drawer. Changes here control the grid presentation and the exported CSV, Excel, JSON, or XML output.
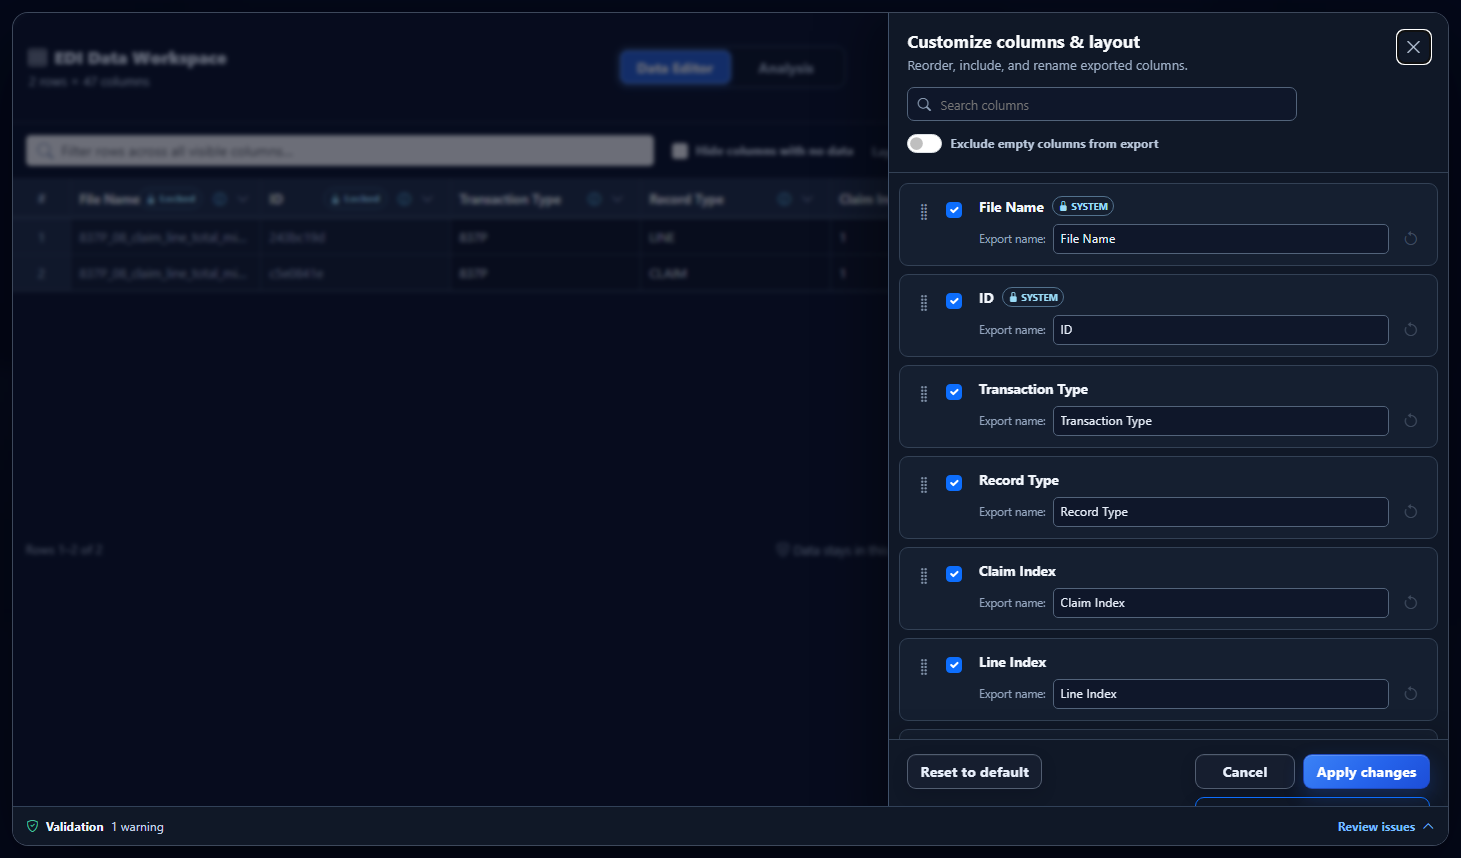
Customize columns and layout drawer with column checkboxes, drag handles, and export names
Use the drawer to build the column arrangement your workflow requires.
Include or excludeUse each checkbox to decide whether the column appears in the grid and export.
ReorderDrag the handle beside a column to move it to a different export position.
Rename export headersChange the Export name without changing the canonical internal field key.
Exclude empty columnsAutomatically unchecks columns that contain no values in the selected output.
System columns such as File Name and ID remain protected. Their lock badge identifies them in the drawer.
3

Apply once or save for reuse

At the bottom of the drawer, choose the action that matches your goal.

Apply changes

Updates the current editor and export only. Use this for a one-time column arrangement.

Save layout

Saves the configuration to your Pro account so you can reuse it with compatible outputs.
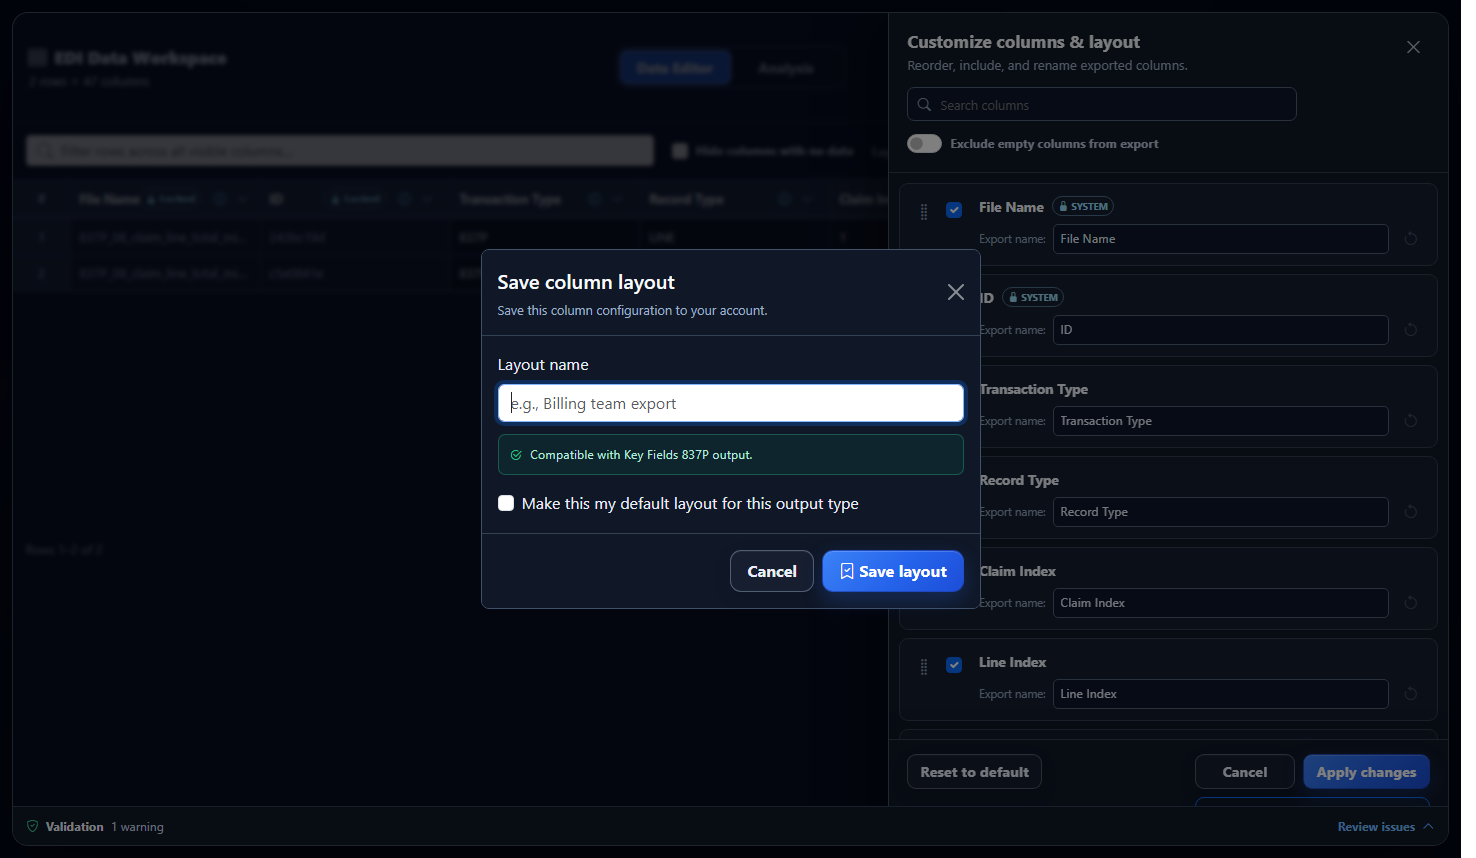
Save column layout dialog with layout name and default-layout checkbox
Give the layout a descriptive name. The dialog confirms which output type it supports.
  • Use a name your team will recognize.
  • Blank names cannot be saved.
  • Visible export headers must be unique.
  • Only column configuration is saved—not EDI values or PHI.
4

Make the layout your default

Select Make this my default layout for this output type in the save dialog. The default will be selected automatically when you create another compatible output.

Defaults are output-specificAn 837P Key Fields default does not replace an 835 or All Fields default.
One default per output typeSetting another compatible layout as default replaces the previous default for that schema.
5

Switch between layouts

Use the Layout dropdown above the grid to move between the built-in layout and compatible saved layouts. Selecting one immediately updates the grid and downloadable output without reparsing the EDI file.

  • Column order updates immediately.
  • Excluded columns disappear from the presentation.
  • Saved export-header names are restored.
  • Existing cell edits remain intact.
If you change an active saved layout, the workspace marks it Modified and offers Save changes, Save as new, or Revert to saved.
6

Manage saved layouts

Select Manage Layouts to review every layout saved to your account—even layouts for other compatible transaction/output types.
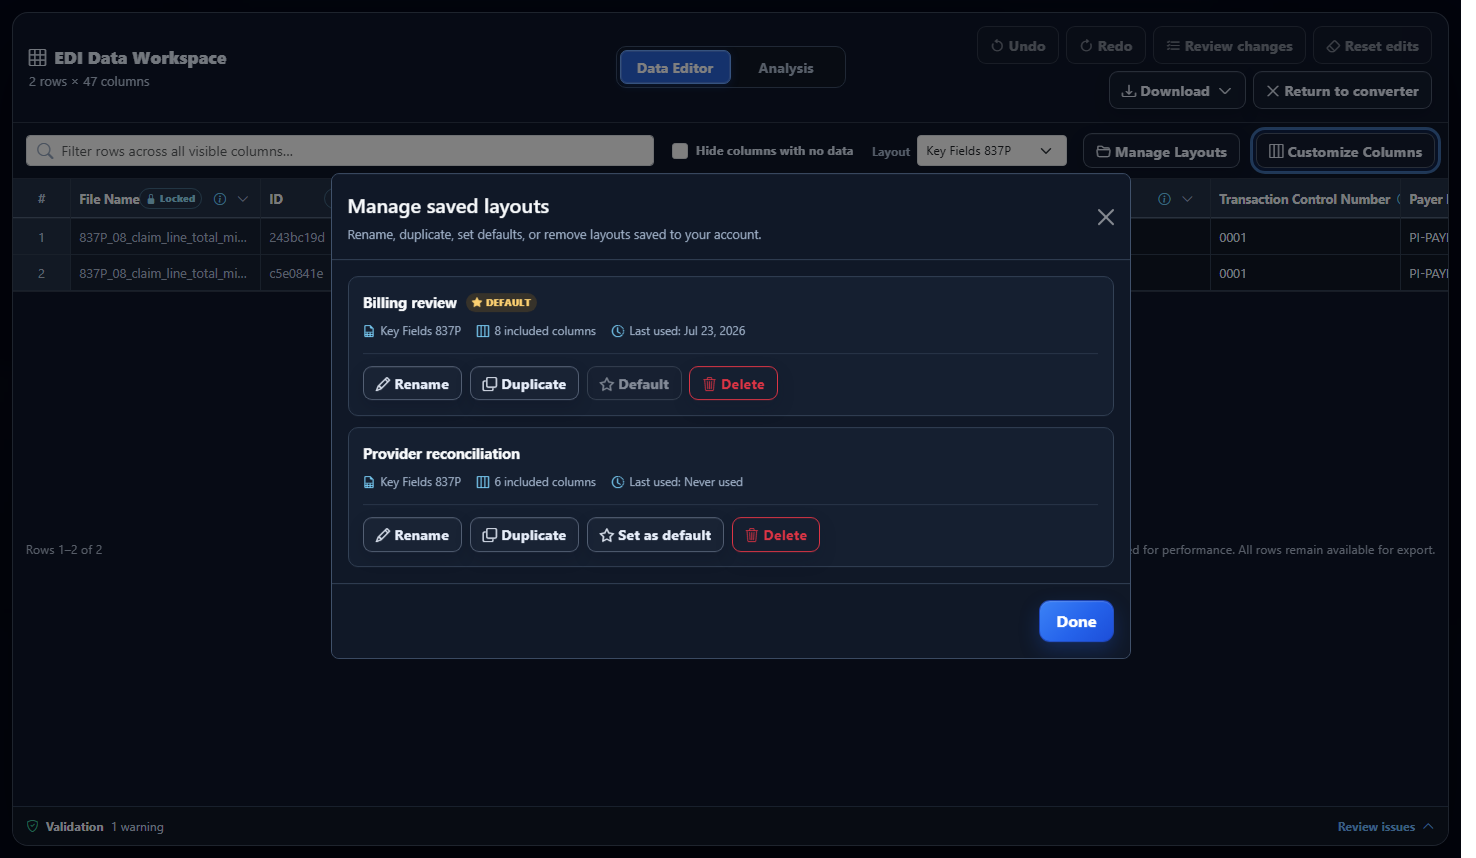
Manage saved layouts dialog with rename, duplicate, default, and delete actions
Each card shows compatibility, included-column count, last-used date, and default status.
RenameChange the account-facing layout name without changing its column configuration.
DuplicateCreate a copy that you can adapt for a second workflow.
Set as defaultMake the layout load automatically for its compatible output type.
DeletePermanently removes the saved layout after confirmation. Converted files and exports are not deleted.

Build your first reusable layout

Sign in with your Pro account, convert a file, and open Customize Columns.

Open EDI Converter